For librarians
Running a stocktake
Check your shelves against the catalog in an afternoon, on the Stocktake tab.
A stocktake confirms that the books the system thinks you have are actually on the shelves. On the Stocktake tab it’s a sweep: start a session, scan spines, and read the reconciliation.
Start a session
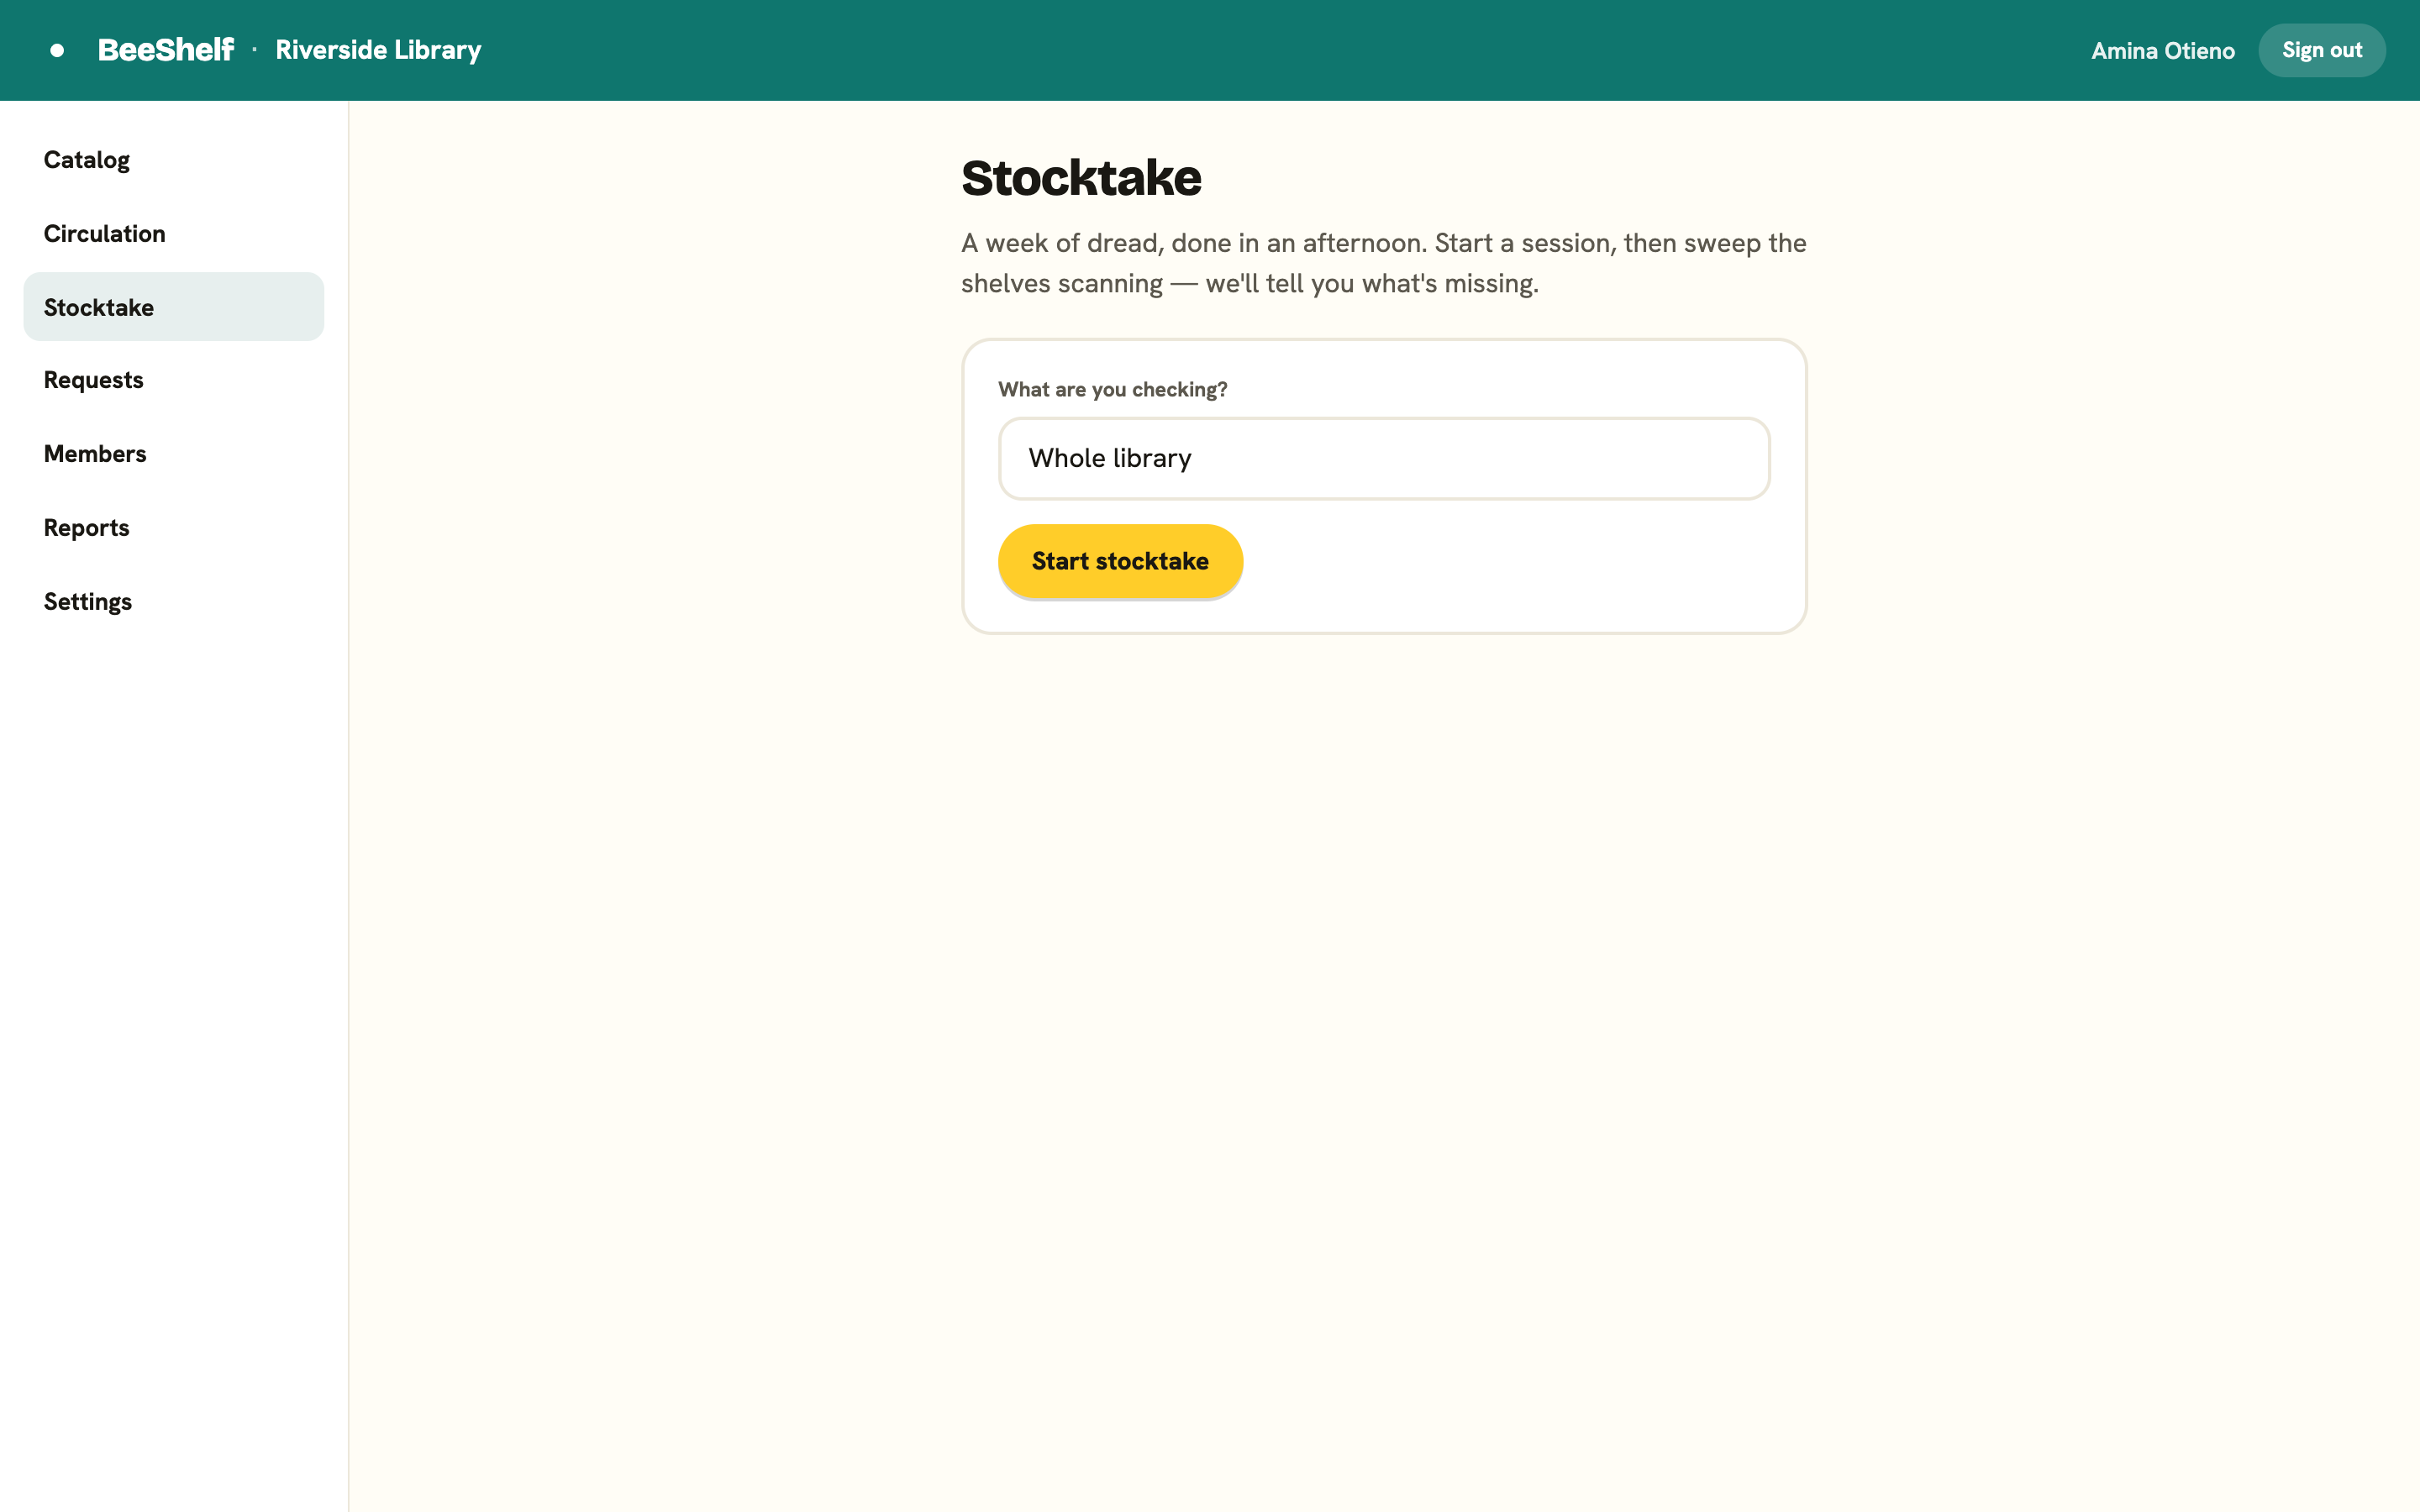
- On the Stocktake tab, under “What are you checking?”, give the session a name, for example “Whole library” or “Fiction A-M.” This is a label to help you recognise the session; it does not narrow the sweep. Reconciliation always compares against your whole catalogue, so anything you don’t scan will be listed as missing even if it sits outside the shelves you walked.
- Press Start stocktake. The session begins and starts counting from now.
Sweep the shelves
Walk the shelves and scan every spine. Each scan shows ”✓ [title],” or ”✗ No item” if the barcode isn’t one of yours. A large counter in the corner tracks how many you’ve scanned.
You can scan in any order. Keep the Stocktake screen open until you’ve finished, though: leaving the tab or reloading ends the session, and starting a fresh one restarts the clock, so spines you already scanned would be reported missing. Do the sweep and the reconcile in one sitting.
Reconcile
Press Reconcile to compare what you scanned against what’s expected. You’ll see three numbers: Expected, Seen, and Missing. Expected counts every copy in your catalogue, including the ones currently on loan, so Expected minus Seen won’t equal Missing. That’s normal. Below them:
- Missing: not seen this sweep lists items the catalog expects but you didn’t scan. Books currently checked out are not listed (they’re not meant to be on the shelf), and neither are books already marked lost. These are candidates for lost. Each has a Mark lost button.
- Found: was marked lost lists items that were marked lost but turned up in your scan. Each has a Clear lost button to put them right.
Press Mark lost on anything genuinely missing, and Clear lost on anything that came back. Mark lost sets the copy’s Lost flag, which takes it out of lending until it turns up; see Item condition flags for what that means. When you’re done, press Finish stocktake.
Because every checkout and every scan already records when a copy was last seen, a stocktake is barely extra work. It’s mostly walking and beeping.
Stay connected while you sweep
Each scan is saved to the server the moment you make it, so the sweep needs a working connection. If a scan doesn’t come back with a ✓, it wasn’t recorded, so scan that spine again once you’re back in range.