For librarians
Managing members
Add, find, and edit members, set up categories, and handle fines, on the Members tab.
The Members tab is everyone who borrows, including readers who signed themselves up in the app. From here you add members, edit them, and see what each one has out.
Find a member
Use the search box to find someone by name, email, or card number. The list shows each member’s avatar, name, card, category, email, and a status badge: Active, Suspended, Expired, or Pending.
Add a member
In the Add a member panel on the right:
- Type the Name. This is the only required field.
- Add an Email and a Library card number if you have them.
- Choose a Category (see below).
- Press Add member.
For a whole class or roster at once, import a list rather than typing each person.
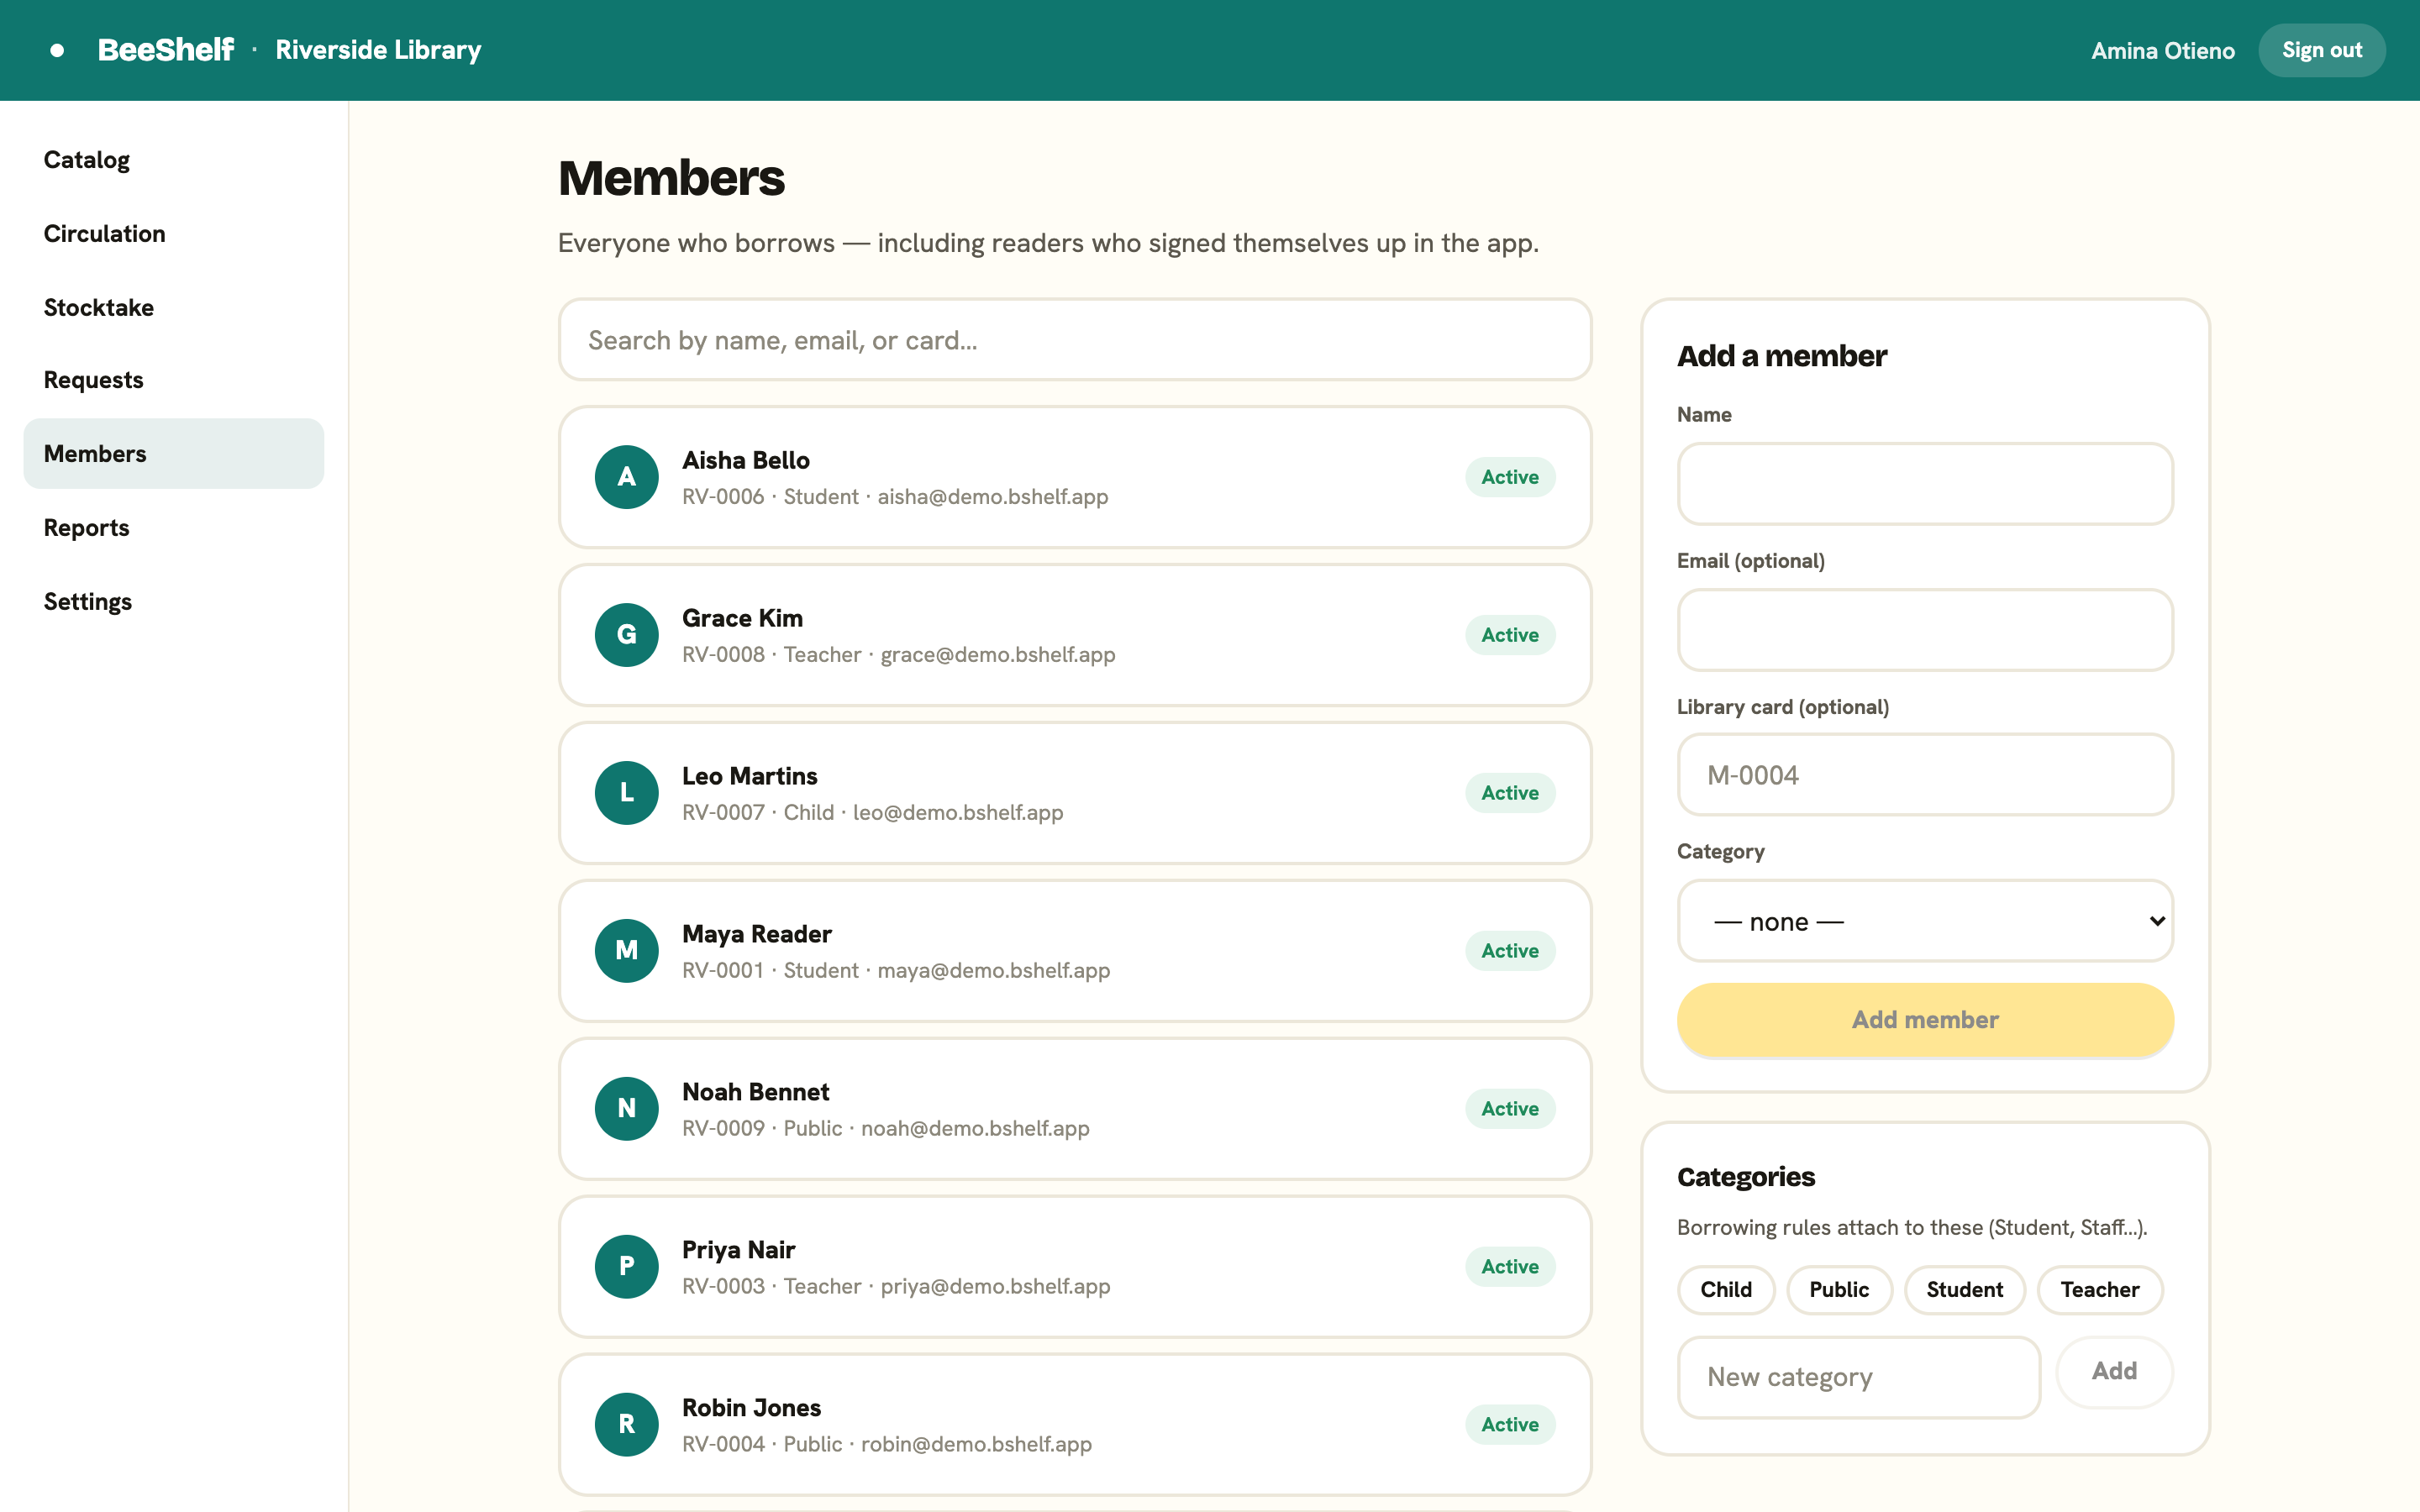
Categories
Categories group members so that borrowing rules can differ between them, for example Students and Staff. They’re managed in the Categories panel:
- Existing categories show as chips.
- To add one, type a name and press Add.
Lending rules attach to these categories. See Lending rules for how overrides work.
Member detail
Click any member to open their page. It shows when they joined, their lifetime loan count, and whether they have an app account, along with:
- On loan now, with due dates.
- Holds, with queue positions.
- Unpaid fines, each with Mark paid and Waive buttons.
Edit a member
On a member’s page, the Edit member panel lets you change their name, email, card, category, and Status. Set the status to Suspended to stop someone borrowing temporarily, or Expired when a membership lapses. Press Save changes.